Garage Clear-Outs: How to Choose and Pack the Perfect Skip
Garage Clear-Outs calling to you? Taking on a major property overhaul is an exciting prospect, but tidying a garage is something that many homeowners actively dread due to the large volume of accumulated clutter. Over the years, these outbuildings inevitably transform into a disorganised catch-all spot in the home.
Countless unwanted items that have been surreptitiously shoved into dark corners are eventually forgotten. However, if you simply want to make more of the available square footage, perhaps allowing you to park your car indoors again, a massive clearance is inevitable.
Whether you are reinventing your backyard or just clearing out your garage, handling the rubbish is the most crucial step.
Why Undertake a Massive Clearance?
There are so many reasons you might be motivated to tackle this chore today. Perhaps you wish to create your own home gym, or you are just tired of letting old wardrobes, cabinets, sideboard, cupboards and much more sit there to gather dust and take up space. A thorough clean ensures you don’t waste storage space on something you don’t use, or simply don’t want.
We could break down the different phases and steps involved into the following ones:
Phase 1: The Sorting Process
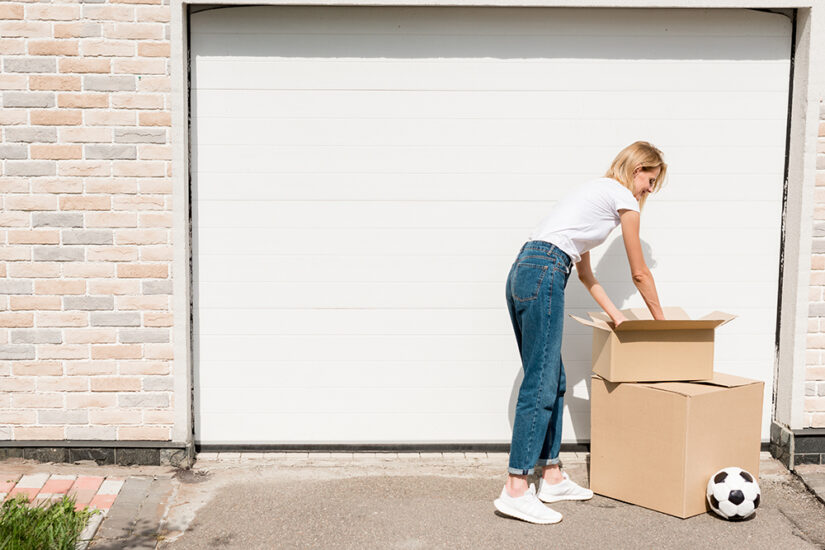
Right from the beginning of your garage or garden organisation plans, sort and categorise everything. The best way to know how to correctly organise the mess is to see it clearly. Empty everything out of the entire garage onto your driveway.
As everything is removed from the garage, you must group together like items that can be stored easily.
Be ruthless and commit to getting rid of anything that serves no real purpose. If you’re thinking of repairing it, make absolutely sure it has a firm purpose and will be used. If not, just throw it out. You will likely uncover broken tools, equipment, or memorabilia that are basically worthless now. Ultimately, stuff is stuff. It’s going to eventually take up room somewhere. Ask yourself if it is useful enough to take up your garage space.
If items are still decent, you could try donating some of your old things to a local charity shop. Your old bikes and garden furniture might be exactly what someone else is looking for. Doing this means you can save money on skip hire while effectively helping others in your community.
Phase 2: Selecting the Right Container Size
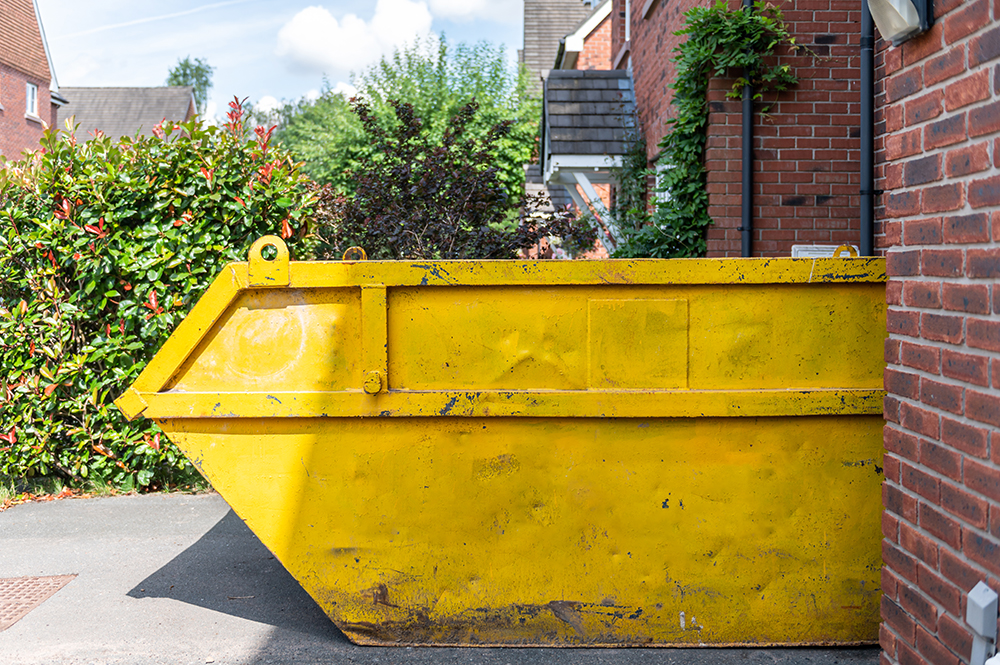
Once the rubbish is piled up, you might need a skip if you face a large volume of unwanted items that cannot be salvaged.
The size skip you select for your property will depend largely on how big your cleanup is and how much waste you’re looking to remove. You may have a large garage, but you only need a small skip for a few items. On the flip side, you may have a small garage that is completely jam-packed with items, meaning you need a much larger skip.
For most standard residential jobs, professionals recommend either the 2-yard mini skip or a 4-yard midi skip for a standard garage clearance. These sizes can hold 45 and 85 bags of trash, respectively. But if you have larger, bulkier items, such as massive tree roots, thick workbenches, or the garage door itself, you may want to consider a 6-yard skip. A moderately large bin should be enough for most of your general waste.
Phase 3: Approved Waste for Your Container
The best place to start is to clearly explain what you can put in a skip. Fortunately, the majority of general domestic or commercial waste is permitted. Garden waste is one of the most common reasons people hire a skip, especially in spring. You can easily fill your skip with leaves, branches, fresh grass and soil. Throw in other things you need to clear out of the yard, like outdoor furniture, heavy bricks, and non-hazardous wood.
You can toss clothes and most types of fabric in your skip, but before you do, check if they are wearable.
You can also put glass in a skip, but it’s best to place sheets of glass carefully. You might consider taping glass panels together and safely wrapping them in thick newspaper, avoiding an unnecessary hazard.
Expect to find waste metal found in garages. This includes scrap copper piping from a recent plumbing overhaul, or a kitchen sink rusting after you’ve remodelled your kitchen. Whatever the metal you have lying around, it can be tossed in. If your old door is made of thick wood, metal or plastic, it can be accepted.
Try to break up the door into much smaller parts first. You can also dump non-hazardous wood, plastic, and basic metal, but tricky questions tend to arise with certain synthetic materials.
Phase 4: Prohibited Items and Restrictions
While highly versatile, a rented bin might not be the answer to all of your waste needs. Under no circumstances can asbestos, clinical/medical waste, fluorescent tubes, industrial solvents, liquids, heavy oil, batteries, hazardous/toxic material, basic food scraps, or gas cylinders be loaded into a rental skip.
For example, TVs and monitors need to be taken to a dedicated recycling centre (you can’t put them in a skip). If you can’t repurpose them, TVs and electronics require an additional fee for collection. Putting a fridge or electrical appliances in general is not permitted.
Recent rule changes are extremely important. As of 1st January 2023, waste management companies cannot accept upholstered seating in any of their bins.
This includes, but isn’t limited to, heavy sofas, old armchairs, kitchen and dining room chairs, stools, and soft cushions. These textiles fall under the strict category of Persistent Organic Pollutants, making them harmful to people and the environment if disposed of incorrectly.
What about DIY remnants? Fresh paint cannot be directly put in a skip. If the paint in the tin has completely dried up, it is usually fine, but you must dry it out first by either using the remainder or mixing it with sawdust.
Plasterboard is tricky too. There is an additional charge for safely disposing of gypsum materials, and it shouldn’t be mixed with green biodegradable waste.
Last, another item we could find in a garage and which can’t be put in a skip are tyres. No, you can’t put tyres in a skip. When burned, standard tyres give off nasty toxic fumes, they are difficult to safely dispose of, and they represent a massive environmental hazard.
Phase 5: Packing Tips for Maximum Efficiency
Packing correctly saves money and hassle. Sorting waste into black bags can vastly help you stay organised. You can put black bags in a skip, as long as they contain general, standard, non‑hazardous trash. This technique helps keep lighter materials completely separate from heavier items, making the unloading easier later on. Never fill your container past the maximum fill line, as overloaded bins are strictly illegal to transport on public roads.
Phase 6: Post-Clearance Organisation and Storage
Once the container is hauled away, you will love the extra space. To prevent the area from returning to a disorganised catch-all spot, you need a solid plan. Adding shelves and organisation systems can help keep everything orderly. Group related items; keep outdoor equipment, like the family’s hiking boots and camping gear, together. Establish a zone for car care essentials and another for your seasonal decorations.
Remember, anything in the garage should be regularly accessed, at least every 6 to 12 months. To keep a tidy garage, anything you absolutely must hang on to but don’t need often belongs in long-term storage. Ensure important family papers, books, or photographs stay inside the house, because the variable climate inside the average garage can severely mould and deteriorate fragile paper products.